
Growing up I really hated drinking milk. Milk that was plain, milk that had chocolate in it, etc. I hated milk in my cereal, I always preferred eating the cereal plain, straight out of the bag, straight crunchy. But I was forced to drink it every morning before school, since milk has calcium, and milk is good for strong bones. I later discovered soy milk and almond milk as alternatives, and my life dramatically became better. Hah! So I went through a period of time where I made smoothies with and drank plenty of soy milk and almond milk. I bought them from Trader Joe’s, but always felt that the almond milk there was a little lifeless. Not very creamy or full body. So I set my sights on homemaking almond milk to see if there was a difference. And there is! Homemade almond milk is creamy and delicious, and when its homemade, you can add whatever flavors to enhance it. Almonds kind of got expensive, so I don’t make it very often, but if you want to drink the difference, give it a try!

Ingredients (~4-5 cups)
- 1 cup raw almonds, soaked in water
- 3 1/2 cups filtered water
- 1 tsp vanilla extract
- 1/4 tsp cinnamon
- Nut bag/cheesecloth
- Place almonds in a small bowl and cover with water. Soak them for at least 2 hours, but its apparently better to soak it overnight.
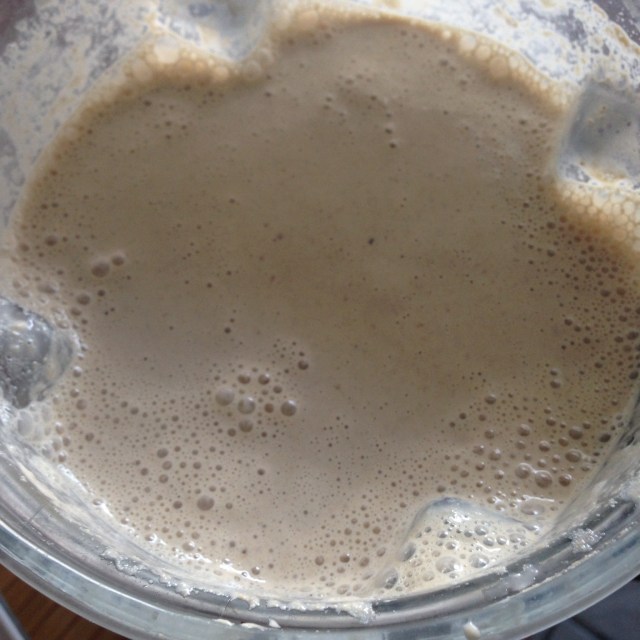
- Drain the soaked almonds. Place almonds in Vitamix blender. Add the filtered water.
- Blend on highest speed for at least a minute, when it looks beautifully creamy and frothy.
- Place the nut bag/cheesecloth over a large bowl, pour the Vitamix contents in it. Squeeze out the milk. The leftover mulch can be used for DIY crackers, or mixed into bread doughs.
- Pour the squeezed milk back into the Vitamix. Then add the cinnamon, vanilla, and blend real quick to combine.
- Then pour in glass storage containers, and it will last up to 3-5 days. However, you are likely going to finish it in a day or two because its so yummy!

